In this we post we are going to talk about how to use a French press coffee maker. In the same manner of all of my other how-to posts, let’s briefly talk about what the French press is. I will be honest here, I wasn’t sure of where the French press originated from as I was with the chemex or the Aeropress. So the information I found, I hope that you find it as fascinating as I do. Let’s dive in.
A History of the French Press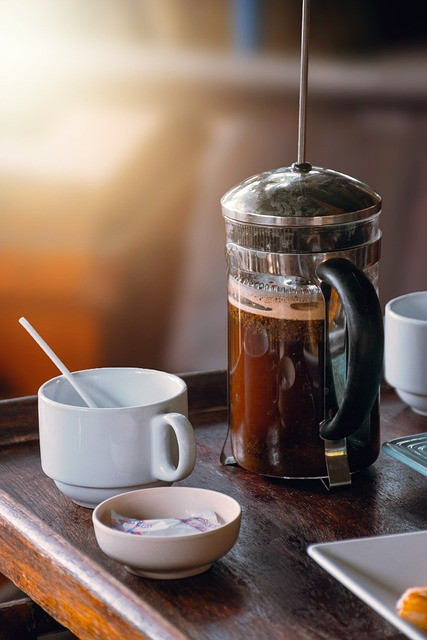
Here’s the debate. A debate that you probably didn’t know existed, but now you will. Is the French press, French or Italian? Ah, it’s French – you boldly state with your claim that it is in the name of the product. Here’s a brief run down of events that conspired,
- In 1852 the first design of something similar to the press was patented by Frenchmen Mayer and Delforge. The thing was the original design didn’t create a seal inside, making it different from the one we use today.
- The first patent that resembles the press we use today was in 1929, by Italian’s Attilio Calimani and Giulio Moneta.
- Swiss man Faliero Bondanini, designed the most popular version of the press, which became known as the ‘Chambord,’ in France where it was manufactured.
- The Chambord became wildly popular and grew its French identity.
- Eventually Bodum – a Danish company, bought the rights and factory to the Chambord French Press.
So, there you have it, a full break down of the French press. For simplicity, we will stick with the name French press. However, I do understand if you are an originalist and think it should be called the Italian press. Regardless, if you are team France or team Italian we all just want to brew.
Your Coffee Bar Setup
Now that we have the history down and before we get into the brewing guide, we need to discuss the setup. If, you are trying to set up a at home coffee bar, some things are very important and others are not so much. I don’t expect you to have the same setup as me, but don’t let that stop you from brewing great coffee using the French press.
Here’s list of what’s needed.
- French Press (I recommend this double walled, dual-filtered screen one from Poliviar)
- Scale (One that weighs in grams – the right scale will elevate your coffee game.)
- Kettle (I use the Bonavita Digital Variable Temperature Gooseneck Kettle which makes for easier pouring, but honestly anything will work as long at as it gets to 205degrees.)
- Grinder (I use the Breville Smart Grinder, but a hand held or having your local coffee shop grind them, will work too.)
- Filtered Water (I recommend a water softener like the Apec Water System or you can just purchase bottles of filtered water.)
- Timer (use a kitchen one or your phone)
- Stirring Device (like a spoon)
- Mug (I love collecting coffee mugs)
- Freshly Roasted Coffee (The better the coffee the better the brew. Don’t settle for anything less! General rule of thumb is to enjoy your coffee 2-4 weeks after it’s roasting date.)
When it comes to your setup, start small and slowly build up. My goal is to get you to the best coffee bar setup that you can have. However, this can all seem overwhelming if you are just starting out. Together we will get you to where you need to be.
ALL OF MY RECIPES USE THE FOLLOWING RULE: 1 PART COFFEE TO 17 PARTS WATER
Step 1 : Boil The Water
Typically I just fill the water to the top of my kettle and start the boiling process as I am going through the other steps. Also, extra water to clean the filter, heat up the French press, and your coffee mug are important.
We are aiming for 205 degrees Fahrenheit / 96 degrees Celsius. Allowing it to cool to about 200 degrees Fahrenheit / 93 degrees Celsius.
- Small (10oz French Press): 340g water
- Medium(16oz French Press): 544g water
- Large(30oz French Press): 935g water
Side note: these instructions all utilize a 32oz French press.
Step 2: Weigh Your Beans
Using your scale.
Set to grams and place a bowl or cup onto it.
Tare it to zero.
Weight out the following depending on your French press size:
- Small (10oz French Press): 20g coffee
- Medium(16oz French Press): 32g coffee
- Large(30oz French Press): 55g coffee
Step 3: Grind Your Beans
Coarse Grind. When using the Breville Smart Grinder, I set my settings to 1-2. Read the instruction manual of your grinder, to get the best results. Depending if you don’t have a grinder just ask your local coffee shop to grind them.
Pour out the preheated water from your French press.
Pour grinds into your French press
Step 4: The French Press
Place the French press on your scale.
Press ‘tare’.
Step 5: Start your Timer and Dampen Grounds
Set and start timer for 5 minutes
Pour enough water into the hold to dampen grounds (double the amount of weighed coffee grounds).
Stir 3 times.
Wait 30 seconds to allow coffee to bloom.
Step 6: Pour Pour Pour
Start pouring water to reach total weight of water.
- Small (10oz French Press): 340g water
- Medium(16oz French Press): 544g water
- Large(30oz French Press): 935g water
(At this point you can use the left over hot water to warm up your mug. It’s definitely not needed, but does make your mug nice and toasty. Plus, it keeps your coffee hotter.)
Step 7: Stir Stir Stir
Stir gently 2-3 times.
Step 8: Place In Plunger
Place filter and plunger into the French press and push down right to above the surface of the coffee grounds.
Step 9: Allow to Brew
Allow the coffee grounds to be immersed
Step 10: Plunge the Filter
Slowly push down plunger after timer is done
Get rid of hot water in mug
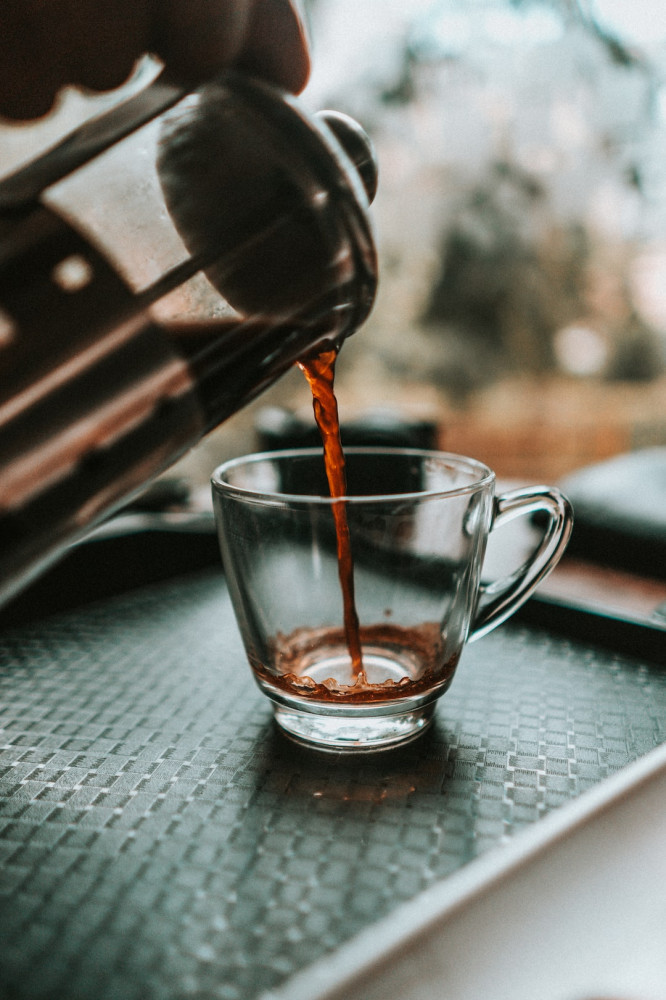
Enjoy Your French Press
Finally, it’s time to pour your French press and enjoy your hard work.
The Quick Steps
Step 1 : Boil The Water –205 degrees F / 96 degrees C
Step 2: Weigh Your Beans – S– 20g / M – 32g / L – 55g
Step 3: Grind Your Beans – Coarse
Step 4: The French Press – Set on scale and tare
Step 5: Start your Timer and Dampen Grounds – 5 minutes / 30 seconds to bloom
Step 6: Pour Pour Pour – Start pouring water to reach total weight of water. / S – 340g / M – 544g / L – 935g
Step 7: Stir Stir Stir – 2 or 3 times
Step 8: Place in Plunger – Place filter and plunger into the French press to above the surface of the coffee grounds
Step 9: Allow to Brew – Immersed for remaining time
Step 10: Plunge The Filter – Slowly press down the filter after the timer is done
Enjoy Your French Press

If you see anything that you would like further explanation on or have a topic you would like discussed, please feel free to reach out in the comments or email me.
Happy Brewing,
Corey J. Plummer