
 If you enjoy coffee but find regular brewed or espresso a bit too acidic or bitter, cold brew coffee might be your answer. This style of brewing creates a sweeter, less acidic, and smoother cup that’s super easy to enjoy straight or with your favorite additions. Having experimented a lot with cold brew at home, I’ve found that a handful of simple tweaks can really give a boost to both flavor and strength.
Cold brew coffee is known for its clarity and versatility, but there’s a bit of a science to getting it just right. Whether you’re new to making cold brew or looking to improve your method, this guide breaks down what truly matters. Steep times, coffee to water ratios, and a few tricks to getting consistently good results are all covered here. I also include personal notes on beans, grind size, and setup—tips that have helped me make the most of my cold brew routine and keep each batch satisfying.
What Exactly is Cold Brew Coffee?
Cold brew coffee is not just regular coffee served cold. Instead, it’s brewed with cold or room temperature water over a long period, usually between 12 and 24 hours. I tend to aim for a steep time of 17 hours, which, in my experience, helps ease bitterness and acidity, resulting in a seriously smooth and sweet brew.
Cold brew’s roots run deep, originally linked to Japanese Kyoto style slow drip methods in the 1600s. In recent years, it’s become incredibly popular in the U.S., popping up in specialty cafes and convenience stores, each with their own version.
There are a few primary ways to make cold brew: full immersion (where coffee steeps freely in water and is strained afterward) or slow drip (where water drips slowly through coffee for many hours). Personally, I stick to full immersion at home—it’s simple, reliable, and doesn’t require any fancy equipment.
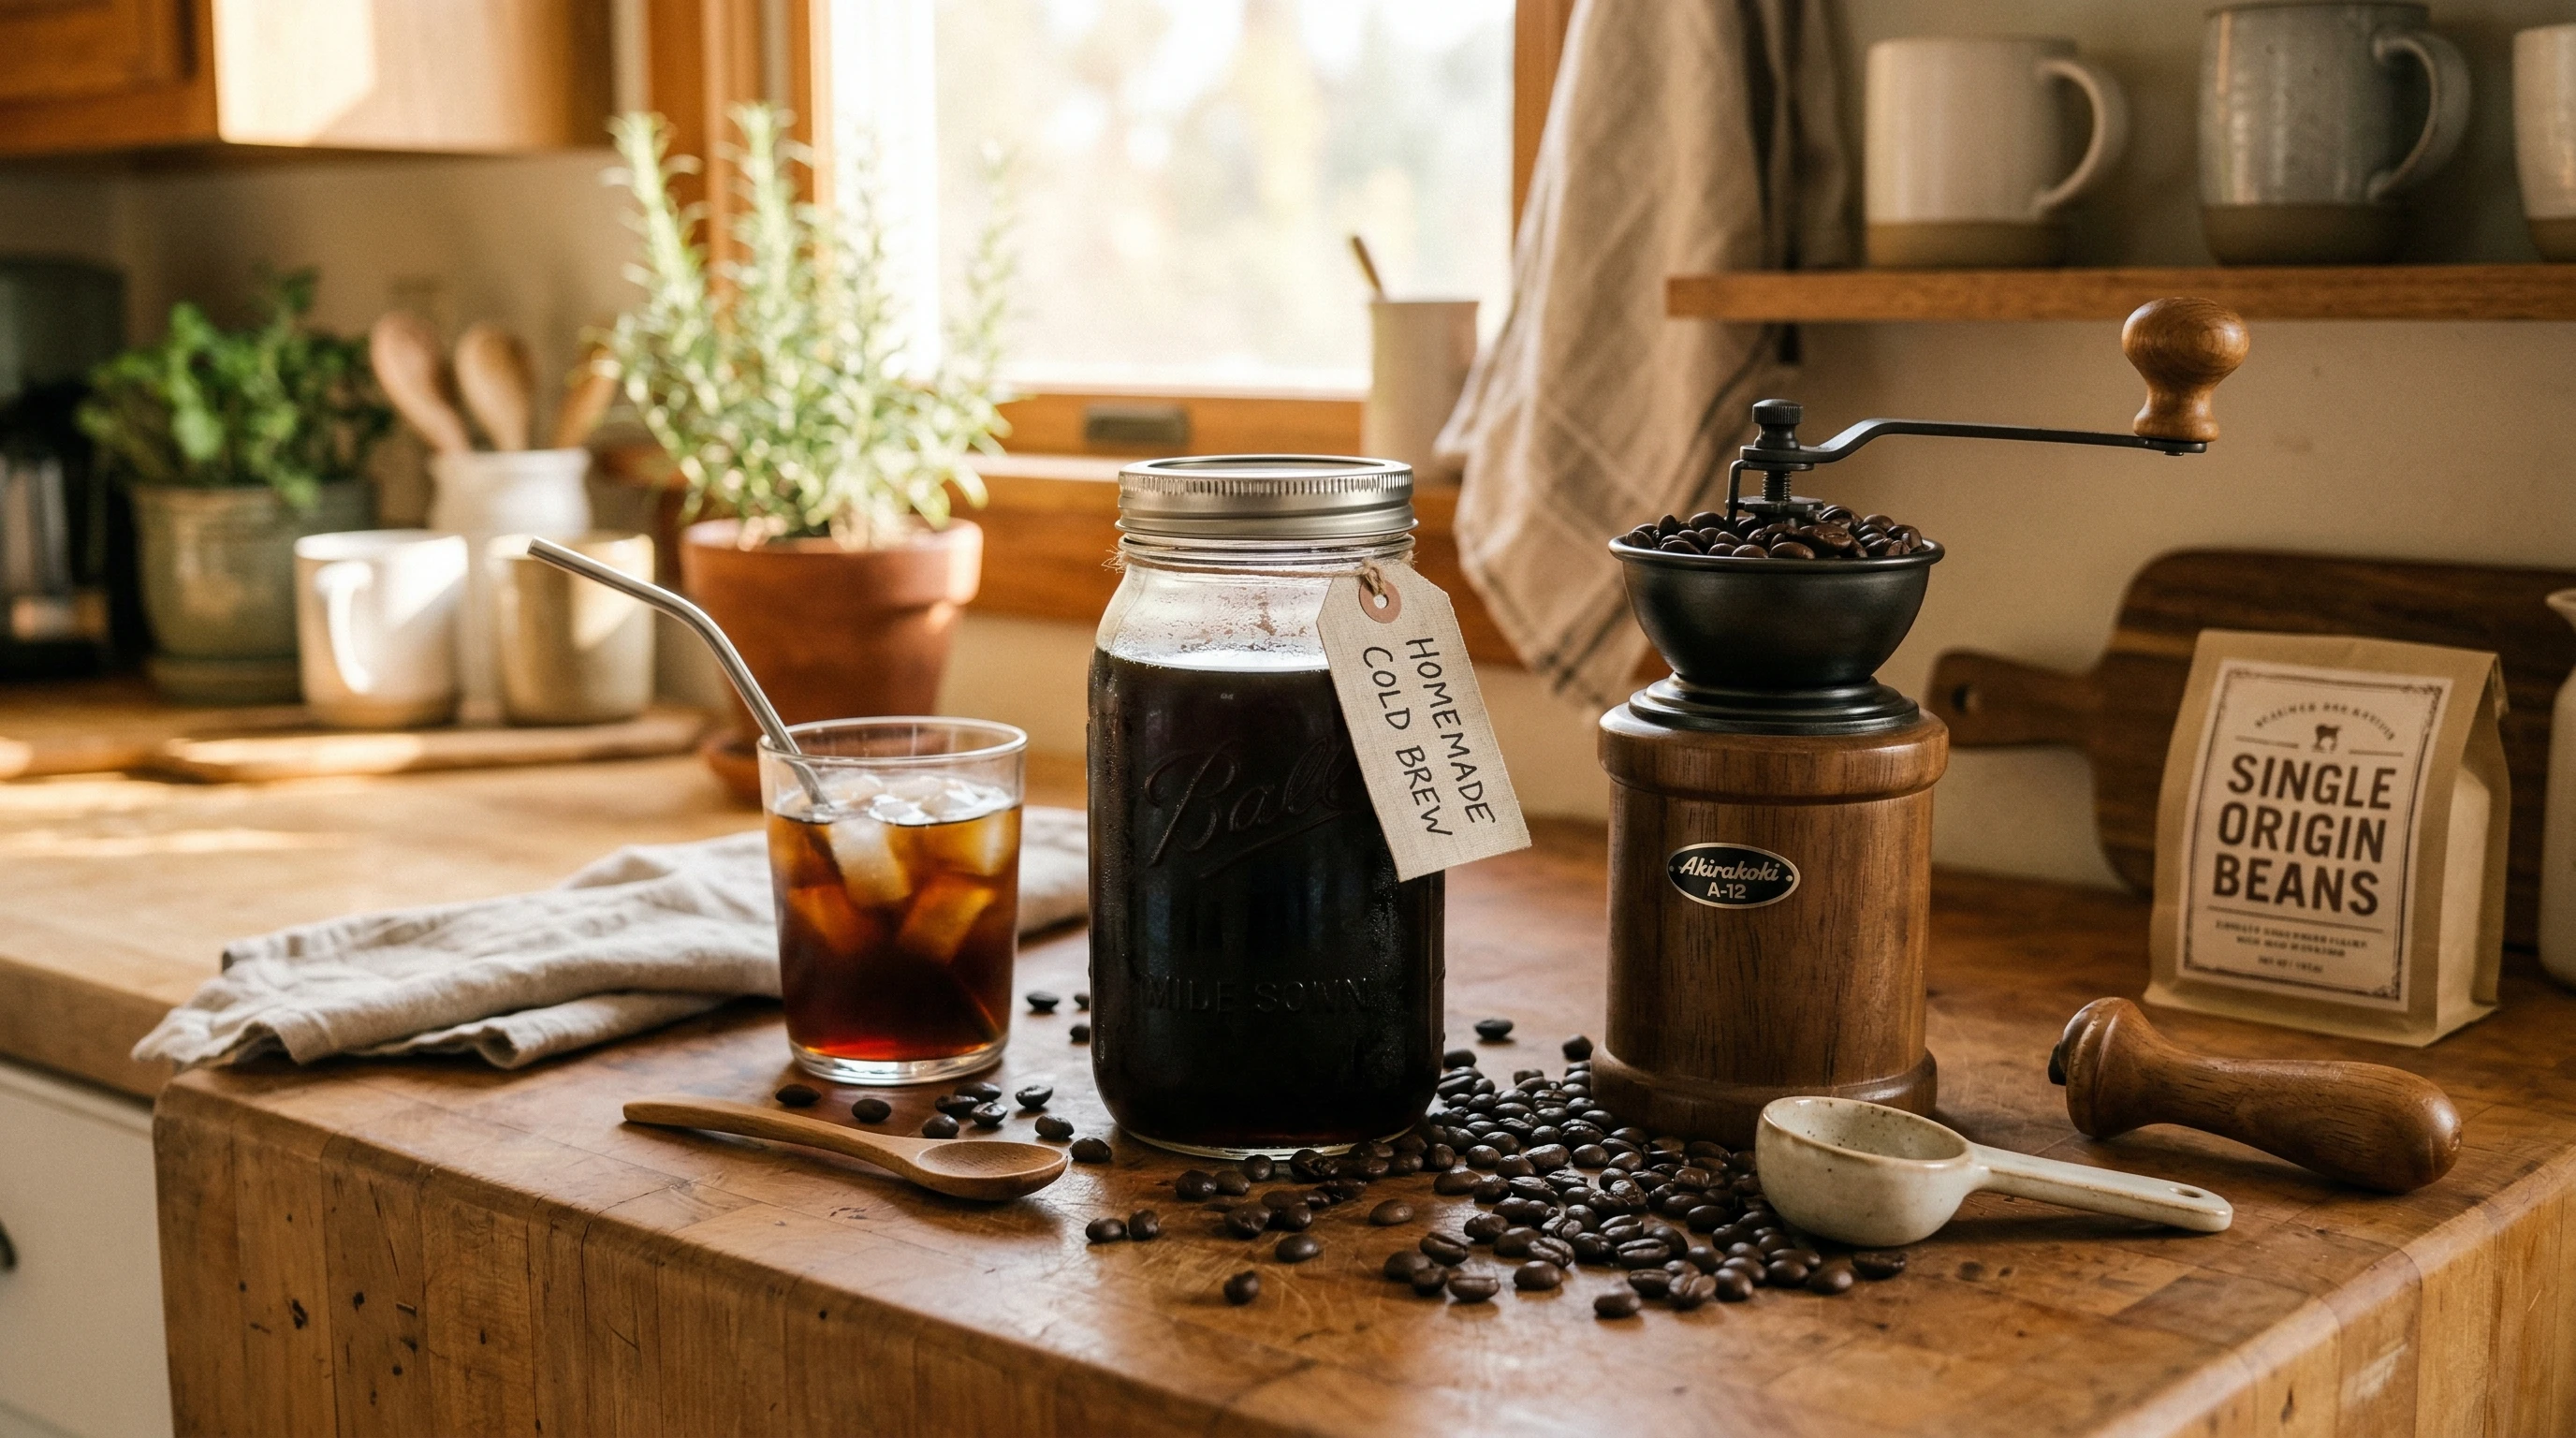
Your Home Cold Brew Setup
Having the right setup at home will make it easy to prepare cold brew and maintain that all-important consistency. Some equipment is essential, while others just smooth the way.
What You’ll Need
- A large jar, pitcher, or French press (at least 1 liter; a big mason jar also works well).
- A scale for accurate measurement (grams are easiest for repeatable results).
- Good quality coffee beans (I recommend light roasts, especially Ethiopian beans, for bright, fruity notes).
- A burr grinder (to grind fresh; if you don’t have one, ask your local coffee shop to grind for you).
- A fine mesh strainer, cheesecloth, or coffee filter for straining.
- Filtered water for the cleanest and brightest taste.
I keep things straightforward. If you choose to add more, you’ll find dedicated cold brew makers out there, but you can get excellent results with these basics.
The 1:17 Coffee to Water Ratio: Why It Matters
I always follow a simple rule: 1 part coffee to 17 parts water. This delivers a balanced strength—neither too overwhelming nor weak. It’s a reliable baseline; easy to memorize and simple to measure, perfect for both small and large batches. If you prefer a different strength, tweak as needed, but 1:17 keeps things consistent.
Example for a typical 1 liter (1000g) batch:
- 59g coffee (rounded from 58.8 for convenience)
- 1000g water
If you want to brew a concentrate for later dilution, go with a more intense ratio like 1:8 and dilute it when serving. For most, a ready-to-drink recipe at 1:17 is the most straightforward and enjoyable right after brewing.
How to Brew Perfect Cold Brew Coffee: Step by Step

Step 1: Weigh and Prepare Your Coffee Beans
Measure the coffee for each batch. I like to use a digital scale for precision. For a weekly batch (about 1 liter), I weigh 59g of whole beans.
Step 2: Grind Your Coffee (Coarse Is Best)
Set your grinder to a coarse setting, similar in texture to raw sugar or coarse sea salt. A burr grinder is best for uniform particle size. If you don’t have one, your local coffee shop can usually grind it for you. Coarse grind makes it easier to filter and helps keep bitter notes away.
Step 3: Mix Coffee and Water
Add the ground coffee and measured water (either room temp or cold) to your jar or French press. Always use filtered water to let the coffee’s natural flavor pop. Give it a gentle stir to make sure all the grounds are saturated.
Step 4: Let It Steep and Wait (12 to 24 Hours)
Cover the jar and let your cold brew steep. I recommend 17 hours at room temperature for a smooth, balanced cup with just the right richness and very low acidity. Those in a rush can steep in the fridge, but keep in mind this yields a gentler, sometimes sweeter flavor profile.
Step 5: Strain Your Brew
When you’re done steeping, strain the coffee from the grounds. A mesh strainer lined with cheesecloth works nicely. For even clearer cold brew, filter again through a paper coffee filter to get rid of finer particles and achieve a smoother texture.
Step 6: Store Your Cold Brew
Pour the strained cold brew into a clean jar or pitcher and pop it in the fridge. It’ll stay fresh for up to a week, with optimal flavor for the first 4 to 5 days. Enjoy your cold brew over ice, mix in milk, or add a dash of syrup if you like—it’s incredibly versatile.
Choosing Coffee Beans for Cold Brew
Any coffee can technically be brewed this way, but I find that lighter roasted beans—like Ethiopian, Yirgacheffe, and other African origins—make the most flavorful cold brew. They create a drink that’s floral, fruity, and much more interesting than the usual dark roast options.
Dark roasts result in a heavier, chocolatey cold brew, but they can taste too bitter or flat if steeped too long. It’s worth experimenting with single origins to see what hits the spot for you, but don’t overlook light or medium roasts for an eye-catching cold brew experience.
Flavor Clarity: Small Details That Matter
Flavors in cold brew are at their best when clarity is front and center. Here’s what I’ve found important:
- Filtered water: Any odd flavor in tap water will show in the cup.
- Freshly ground coffee: Grind just before brewing for best results. Coffee loses its zip quickly after grinding.
- Accurate timing: Steeping time matters. Too short, and your drink will be weak or sour; too long, and it turns muddy or bitter. Seventeen hours is my personal magic number.
- Thorough filtration: Filter first with a mesh strainer, then again with a paper filter for crystal clarity and smoothness.
I also keep my brewing jar extra clean. Old oils or coffee residues can ruin a fresh cup’s taste, so give everything a solid rinse every time you brew.
Quick Reference: My Cold Brew Routine
- Weigh coffee beans—use a 1:17 ratio (example: 59g coffee to 1000g water).
- Grind coarsely, just before brewing if possible.
- Combine coffee and cold or room temperature water; stir well for complete saturation.
- Cover and steep 17 hours at room temp.
- Strain first through mesh or cheesecloth, then through a paper filter.
- Store cold brew in the fridge. Enjoy over ice or with milk as you like.
Common Cold Brew Questions and Fixes
Why does my cold brew taste weak?
Maybe you’re using too little coffee, not steeping long enough, or grinding too coarse. Double check your measurements and timing, or use a slightly finer grind for added strength.
Why does my cold brew taste bitter?
This is usually due to oversteeping or using old, low quality beans. Try tasting it at 14 or 15 hours next time or try a lighter roast.
Can I heat cold brew?
Absolutely. Cold brew can be gently heated if you want a smooth hot cup—it’s great as a base for warm drinks, too.
My Tips for Better Cold Brew Results
- Start with the 1:17 ratio, then adjust it to fit your taste.
- Seventeen hours works best for me, but keep a log to find your preference.
- Rinse all tools and containers thoroughly between uses to prevent off flavors.
- Switch up your beans, especially with single origin coffees from Ethiopia, for a brighter and more interesting cup.
Making great cold brew at home doesn’t call for fancy gear or loads of experience—just patience, good beans, and some consistency. If you stick to these steps and use quality coffee, you’ll enjoy a cold brew that’s clean, smooth, and full of flavor. If you try a new combination or stumble upon a new favorite bean, feel free to share your discoveries in the comments below!
Happy Brewing,
Corey J. Plummer