
My experience with the Kalita Wave comes from exploring different pourover brewers in search of more consistency and clarity in the cup. The flat bottom design stood out to me because of its reputation for producing even extraction and reducing some of the variables that can make pourover coffee unpredictable.
What I appreciate about the Kalita Wave is how approachable it is. It is a brewer that tends to reward even relatively simple technique with a balanced and sweet cup, often without the bitterness or uneven extraction that can show up with more demanding methods. It has become one of the brewers I recommend when someone wants clean bright coffee without a steep learning curve.
There is something reassuring about reaching for a tool that makes quality more accessible, especially on groggy mornings. If you are looking for clarity in your cup and fewer brewing headaches, the Kalita Wave is worth trying. Here is my guide to help you get started or refine your approach. I will go over the gear, brewing steps, and share practical tips for getting the most out of it.
What Makes the Kalita Wave Different?
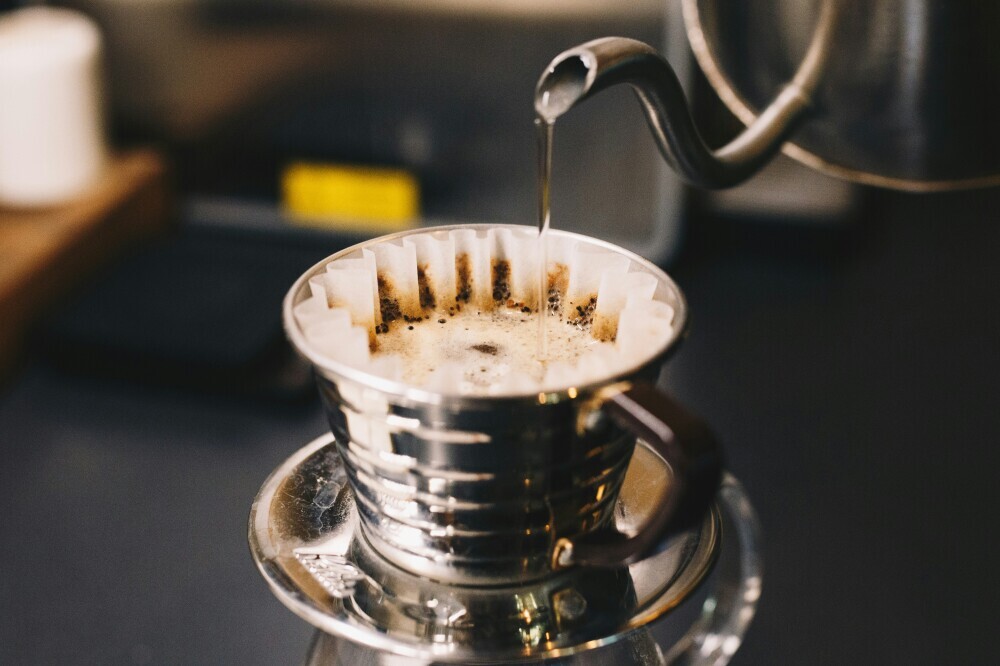
The Kalita Wave is a pourover coffee dripper designed in Japan by Kalita Co., a company that’s been in business since the 1950s. Its standout feature is the flat bottom shape with three small drainage holes, which is different from the cone shape of brewers like the Hario V60. This design ensures water flows through the coffee bed at a steadier pace, helping you steer clear of over extraction or under extraction caused by uneven pouring.
Details like these may seem minor, but they really add up when you want to brew repeatable, delicious coffee. The Kalita Wave is especially forgiving for beginners because you can control water flow more easily and keep the coffee bed flatter. This makes for a well balanced cup with good body and clarity, whether you’re brewing for yourself or sharing with a friend. The special wave shaped filters also help lower contact between the brew and dripper wall, which gives a boost to extraction evenness.
Professionals and enthusiasts often reach for the Kalita Wave at home or in cafés when they want dependable results, even if their pouring isn’t perfect. It’s become popular for this very reason. The accessibility it offers makes brewing specialty coffee feel far less intimidating to newcomers, yet satisfying for seasoned brewers as well.
Setting Up Your Kalita Coffee Station
Essential Tools
- Kalita Wave brewer (155 for 1-2 cups, 185 for 2-4 cups)
- Kalita Wave filters
- Burr grinder (because grind size affects flavor more than fancy gear)
- Gooseneck kettle (for controlled pouring)
- Coffee scale (preferably digital, for accuracy)
- Freshly roasted coffee beans
- Filtered water
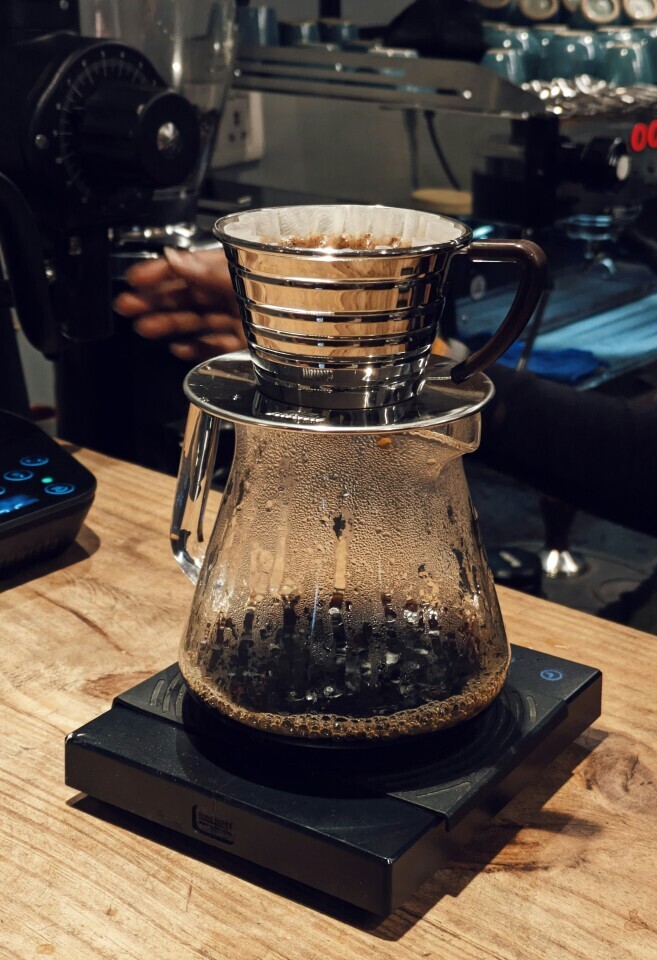
- Sturdy mug or coffee server
- Timer (a smartphone timer works fine too)
Optional Upgrades
- Temperature controlled kettle (to nail your water temperature)
- High end burr grinder (if you’re chasing super consistent results)
- Thermometer (if your kettle doesn’t show the precise temps)
- Stir stick or spoon (useful for gently saturating grounds evenly)
I quickly learned that grinding quality and water freshness are more important than high tech gear. Using a good burr grinder improved my results far more than buying a pricier kettle. As long as you have fresh beans and a decent grinder, you’ll be able to make delicious coffee with the Kalita Wave.
If you want to add some variety to your setup, you might try a metal Kalita for different thermal retention, or experiment with different mugs and coffee servers to keep your coffee hotter longer. Tinkering with tools is part of the fun, but never a must-have for solid results.
Kalita Wave Brew Ratio and Coffee Recipe Basics
The sweet spot for the Kalita Wave is a 1:17 ratio—one part coffee for every seventeen parts water by weight. For most home brewers, try these starting points:
- 20g coffee : 340g water (for a single mug, Wave 155 size)
- 30g coffee : 510g water (for larger batches, Wave 185 size)
If you prefer a bolder flavor, go for 1:16. Want a lighter cup? Try 1:18. Most of the time, the 1:17 ratio delivers that sweet, medium-bodied flavor home brewers love. I use a medium grind, about the texture of table salt—not so fine it clumps, but not coarse either. Also, filtered water at about 205°F (96°C) is just right for making the flavors shine.
Experimenting with these ratios can help you find your personal favorite. Remember to make one change at a time, whether it’s adjusting water temp, grind size, or coffee dose, so you can spot what makes the biggest difference to your cup.
Step By Step Kalita Wave Brewing Guide
1. Heat and Prep
Boil fresh, filtered water to 205°F (96°C). Rinse your Kalita Wave filter well to rinse away paper flavors, then discard the rinse water. Prewarming your mug or server will help your coffee stay nice and hot.
2. Weigh and Grind
Weigh out your coffee beans—20g for an individual cup, 30g for two—and grind them to medium. If your brew tastes too thin, use a slightly finer grind; if it runs slow or tastes muddy, go coarser.
3. Add Coffee to Brewer
Place the filter and grounds into the Kalita Wave. Put your mug or server and brewer on the scale and zero it out so you only measure what you pour.
4. The Bloom (First Pour)
Start your timer and pour about double your coffee dose in water—so, 40g water for 20g coffee. Pour gently to saturate every bit of ground. Let it sit for 30 to 45 seconds while it bubbles and swells (this is the coffee “blooming” and degassing for flavor boost).
5. Main Pours
- After the bloom, pour slowly in a spiral, working from the center out
- Keep the water level just above the coffee bed as you add water
- Your pour should be gentle, not breaking up the grounds too much
I usually pour in two or three rounds, letting the water nearly reach the coffee before adding more, until I hit my total water weight—340g or 510g, depending on batch size.
6. Drawdown
After your final pour, allow the water to pass through naturally. Total brew time, from the first pour to finish, should be about 3:30 to 4:30 minutes. If it moves much faster, go finer next time; if it’s slower, grind coarser.
7. Finish and Serve
Let the coffee drip until it’s done. Remove the brewer, swirl your mug or server gently to mix the brew, and give it a taste. If it’s too sharp, go coarser or use a touch less coffee. If it’s weak, use a finer grind or a bit more coffee next time. With each brew, you’ll get better at spotting these tweaks.
Quick Reference
- Boil water (205°F/96°C)
- Weigh coffee (20g–30g)
- Grind medium
- Rinse filter and preheat everything
- Add grounds, tare scale
- Bloom (40g–60g water, 30–45 seconds)
- Pour to your total water goal in slow spirals
- Total brew: 3:30–4:30 min
- Let drip finish, serve, and enjoy
- Clean up, rinse brewer and discard filter
Troubleshooting and Common Questions
Why does my Kalita Wave coffee taste sour?
This usually means the coffee is under extracted. Try grinding a little finer or bumping up your water temperature a bit. Make sure your first pour evenly soaks all the grounds during the bloom for best results.
What if my brew is bitter or too strong?
Bitter, overpowering flavors usually indicate overextraction. Try a coarser grind or pouring just a bit faster. Also, avoid direct pours onto the filter paper, as that can make extraction less even.
Do I need a fancy kettle or scale?
Although these tools make the job easier, you can brew excellent Kalita Wave coffee with a standard kettle and a basic kitchen scale. Focus on consistent grinding and clean, fresh water more than gadget upgrades.
Tips for Consistent Kalita Wave Results
- Grind consistency is the top factor for even extraction
- Keep your pouring slow and steady; aim for all grounds to be evenly wet
- Clean your brewing tools after each use for the best flavor
- Test small changes one at a time to learn which adjustments help your cup the most
I’ve found a lot of joy experimenting with bean origins and testing small tweaks to my process. The Kalita Wave rewards consistency but gives you a safe place to learn, even if you aren’t a pro right away.
Happy brewing,
Corey J. Plummer